home> USER GUIDE > Fingerprint browser> Nestbrowser
Nestbrowser
Integration of Nestbrowser and LunaProxy
Step 1 - Proxy Preparation
Before starting the integration, we need to choose a plan in lunaproxy.com and prepare a proxy.
1. Sign up for an account (if you haven't already) /1. Enter your email 2. Enter your password (you can also choose Google)
2. Go to Dashboard.
3. If you are accessing the dashboard for the first time, you will be prompted to choose a plan if desired.
4. After selecting the scheme, go to the Get Proxy menu → User & Pass Auth, and select the desired proxy.
5. Select the country you want, proxy type, here I choose the UK and IP rotation
6. Copy the host, port, login, and password of the generated proxy.
7. To get the URL link for proxy management, go to the API tab.
8. The proxy is ready to be configured.
Step 2 - Nestbrowser Integration with LunaProxy
1. Download Nestbrowser from the official website, install and run it.
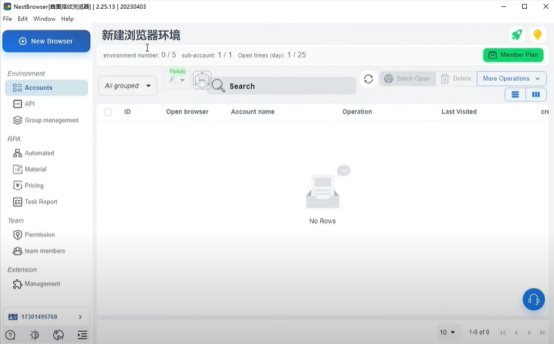
2. Click "New Browser" to create a new browser page
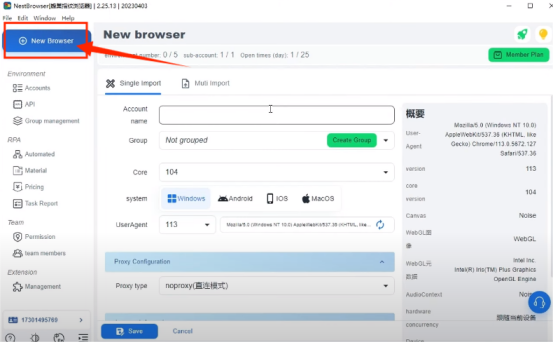
3. Choose proxy agreement
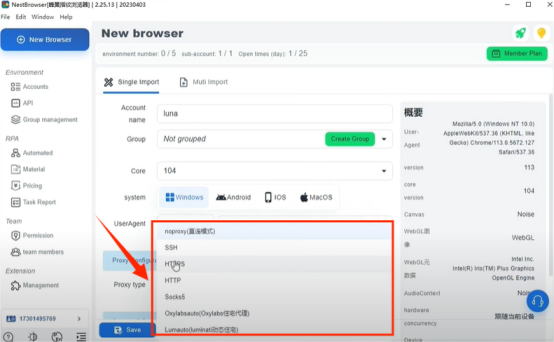
4. Enter the proxy IP host and port
5. Click the detection agent to detect
6. Click "save" to complete the configuration
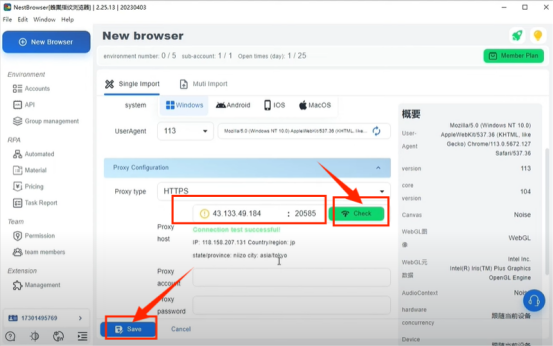
7. After saving the settings, you can open it and use it