home> USER GUIDE > Operating System> Android
Android
Android
How to configure the proxys in the Android
Step 1-Proent Preparation
Before starting the integration, we need to select a scheme in the lunaproxy.com and prepare an proxy.
1. Register an account (if you don't have) / 1. Enter email 2. Enter your password (or Google)
2. Go to the dashboard.
3. If you are visiting the dashboard for the first time, you will be prompted to choose a plan as needed.
4. After selecting the scheme, enter the Get proxy menu User & Pass Auth and select the desired proxy.
5. Choose the country you want, the type of proxy, here I choose the UK and rotation IP
6. The host, port, login name, and password of the copy-generated proxy.
7. To get the proxy-managed URL link, go to the API tab.
8. The proxy is ready to configure.
Step 2-Integration of Android with LunaProxy
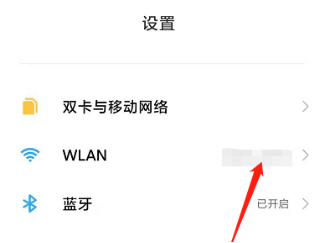
1、Open the Settings and click on WLAN
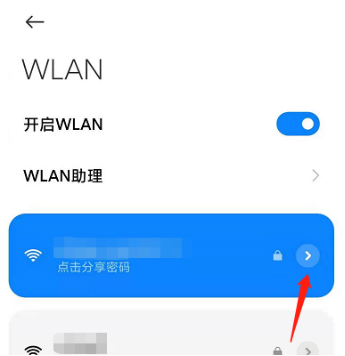
2、Select the connected WIFI network and click the arrow on the right to enter the Settings page
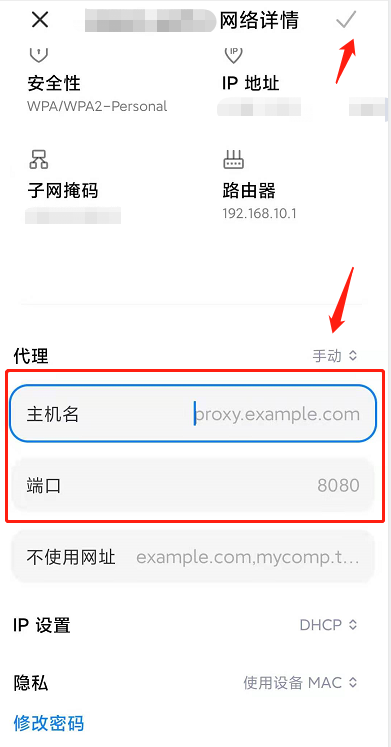
3、Set the proxy to "manual", fill in the host name, port information, click on the upper right corner to save, the configuration is complete
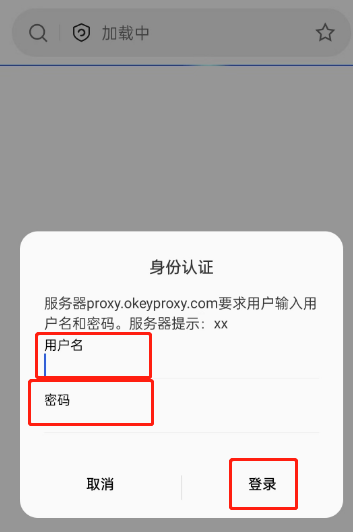
4、Open the mobile phone browser and enter the user name and password
5、Open the mobile browser search IP address query, if the query results and set the proxy IP consistent, the proxy set success.