


.png)


.svg)


.svg)
.svg)
.svg)


home> USER GUIDE > Fingerprint browser> MuLogin
MuLogin
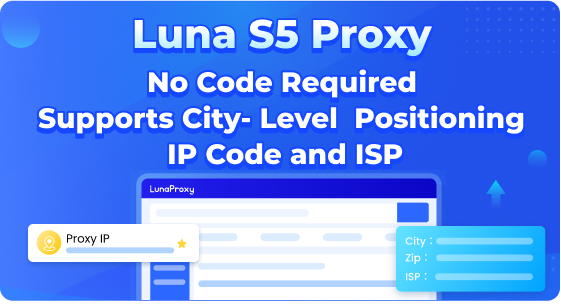
LunaProxy:http://www.lunaproxy.com/
MuLogin:https://www.mulogin.com/?ref=luna
1. Download MuLogin from their official website, install, and run it.
2. After opening the tool, click Add browser.

8. You’ll be placed in the Basic configuration section. Scroll down and click on Proxy settings.

9. Choose HTTP or SOCKS5 and fill in the following information based on your proxies.
Proxy type: HTTP
IP address: pr.lunaproxy.com
Port: 12233
Login user: customer-custom information
Login password:The lunaproxy user password
10. After entering your information, you can check the network to see if the process works. Detailed IP and country information should be displayed.
11. Lastly, after filling out your proxy information, choose a Display name, scroll down and click save.

And that's it! Your setup is done.
